Showing posts with label food envy. Show all posts

Thursday, 15 September 2011

Recipe: Herby Mushroom Pasta

For lazy sofa days (like I'm having today - chest injury plus cold = not fun) when you've still got to create something yummy in the kitchen this is the perfect recipe. Not only does it use all fresh ingredients (no pre-made sauces here) it takes no longer than 10 mins including prep...  

YOU WILL NEED:
250g sliced mushrooms
150ml vegetable stock
3 tablespoons cream cheese
2 garlic cloves
2 tablespoons wholegrain mustard
Handful of chopped parsley
Black pepper
Butter

Pasta


RECIPE: (serves 2 with a little leftovers - reheats well for lunch the next day)

First sautée the mushrooms and garlic in the butter. Rather than using a garlic press (which never seems to work out for me) or attempting to chop it small enough I use the small side of the grater...works a treat. Once the ingredients have softened and started to go slightly golden add the veg stock and keep the heat at a simmer. Add the mustard and LOTS of black pepper and stir through. Once the stock has reduced slightly then add the cream cheese, stirring quickly to create a sauce. Once the pasta is cooked (per packet instructions) add the parsley to the mushrooms. Drain the pasta then add a little at a time to the sauce mixing to coat.

Sunday, 24 July 2011

Recipe: Ultimate Chicken Noodle Soup

When you need warming up or a little home comfort there's nothing better than a big bowl of homemade chicken noodle soup...I'm pretty certain it should have 'food of the gods' classification. There's no exact science to this recipe, the beauty of it being you just chuck everything in a pan and let it simmer. Serve with warm bread or crispy vegetable spring rolls.

YOU WILL NEED:
4 spring onions
3 chicken stock cubes
2 carrots
2 tbsp soya sauce
1 tsp sesame oil
1 chicken breast
1 small red pepper
1 small can sweetcorn
Rice noodles
Salt & pepper


RECIPE: (makes two large bowls)

1. In a large pan place the stock cubes, soya sauce, sesame oil, a little salt and plenty of pepper. Fill 3/4 full with boiling water and simmer on a low-medium heat

2. Top and tail the carrots, cut in to quarters length ways then chop in to chunks and add to the pot

3. De-seed the pepper and chop in to small chunks and add to the pot as well

4. Slice the chicken breast in to strips and cut into mouth size pieces and add to the stock

5. Add the drained can of sweetcorn

6. Allow to simmer for 20 minutes

7.Slice the spring onions (include as much of the green stalk as possible) and break up two big handfuls of noodles (you can use wide or thin rice noodles), add to the pot, stir and leave for about 5 minutes until the noodles are cooked (less time if using thin noodles)

8. Before serving taste the stock to check for seasoning and then enjoy!

Saturday, 23 July 2011

Edible Gardening In All Its Forms

While I'm not by any stretch of the imagination what you would call green fingered I do like fresh herbs when I'm cooking (I've also started making my own flavoured oils but more on that another time). After managing to bring a forlorn, reduced section basil plant back to life with a new pot and some sunshine I decided to actually try the whole process from scratch by planting some parsley seeds. Needless to say I buggered it up to begin with and the boy had to remove some of the too heavy layer of soil and placed over the top but they seem to be doing OK so far...

Flourishing little basil plant originally purchased for 39p from Tesco

Parsley sprouts watched over by a little gnome 

Both of the planters have their own terracotta engraved name tags which we found dumped in the back garden when we first moved in.

Finally I had to show off something my mum just made. She makes cakes, cupcakes and cake pops for a living and was asked by a friend of mine to do some cupcakes and pops with a gardening theme...

Vanilla sponge and frosting with sunflower, carrots, gardening gloves, seed packet, rose and watering can with pumpkin (all made by hand)

Ladybird, bumblebee and strawberry vanilla cakepops

Wednesday, 20 July 2011

Recipe: Chocolate Chip Cookies

As a break from wallpaper stripping (note to first time buyers: you wouldn't think to check skirting boards to make sure the previous owners haven't used silicone sealant to finish off the wallpaper but do!) I decided to make a batch of chocolate chip cookies which are too yum not to share...


First up, ingredients - this recipe uses really simple ingredients most of which you will probably already have even if you're only an occasional baker...

YOU WILL NEED:
350g plain flour
220g dark brown soft sugar
110g butter (soft, cubed)
100g plain chocolate
50g golden granulated sugar
1 egg
1/2 tsp baking powder
1/2tsp vanilla essence/extract
1/4 tsp salt

RECIPE: (makes 15 large cookies)

1. Mix together the sugars, vanilla and butter. I start with a wooden spoon until the butter is starting to cream with the sugar then use an electric whisk on its lowest setting to finish

2. Add the egg and continue to combine with the electric whisk. The batter make look like its curdling but don't worry, it will all come together


3. In a separate bowl mix the flour, baking powder and salt. Add this two tablespoons at a time to your batter and continue whisking. When all of the ingredients are mixed you will be left with a slightly wet dough

4. I prefer to break up a chocolate bar rather than using ready made chips. I use plain chocolate for this recipe as I think its slight bitterness works well with the sweet base but you can use whichever you prefer. I first break the chocolate up into a sandwich bag, wrap it in a tea towel then give it a few hits with a rolling pin. For any pieces that are still too big I just carefully chop them with a sharp knife

5. Add the chocolate to the batter, mixing with a wooden spoon until all the pieces are evenly distributed


6. Line a baking sheet or tray with baking parchment (foil will work as well) and place tablespoon size blobs 2" apart on to the sheet - I use a plastic tablespoon measure as my scoop and find that a standard baking tray will take 6 cookie blobs


7. Bake in a pre-heated oven at 190c for 10-12 minutes until they are golden. The cookies will spread out and flatten by themselves. If your cookies do bond together while cooking don't worry, simply run a knife though to separate them as soon as they come out of the oven

8. Leave the cookies on the tray for a few minutes then transfer to a wire rack to cool. These can be eaten warm or cold and stored in an airtight container


If you are only adding one 'flavour' ingredient (eg chocolate, hazelnuts, raisins) then this base recipe is a great one to use. The dough would also work really well for cookie dough ice cream (must try that soon)!

EDIT: Cupcakes & Cashmere recommends sprinkling chocolate chip cookies with ground sea salt (do this when they're fresh from the oven)...not to everyones taste but I think it's delicious.

Friday, 8 July 2011

Smells Sweet, Tastes Sweeter

Received these a couple of days ago from Lexi of Faith Trust & Pixie Dust - not only are they a beautiful display of carnations and gerbera but she also worked three candy lollipops in there too!

Friday, 10 June 2011

Vintage Cafe

This week saw the opening of my Aunty's tea shop, Vintage Cafe.

My first visit was for a pot of tea served in a vintage cup and saucer (with a shot glass of dolly mixture on the side!)


And here are few more snaps I managed to get before we had to run home to get an umbrella on our way into town...

A very good commandment for a tea shop (and life in general)
[artwork by Olivia of Goldielocks & Cupid]

Cake, blackboard menu and pretty things

Cosy corner for reading and drinking hot chocolate

Cabinet filled with vintage and shabby chic bits n bobs

Part of the backroom seating area with black and white photos of Hull 
(which are also available for purchase)

Since my favourite thrift store is nearby, I won't be needing to make many excuses to head in the direction of Chanterland's Avenue from now on.

Find out more on the Vintage Cafe Facebook page (and don't forget to click like!)

Sunday, 5 June 2011

William IV

For our holiday to London we stayed in the pub come hotel William IV, about a half hour walk to the centre of Portobello Rd.

Despite the fact that it was a nice hotel with easy access to the Bakerloo line I don't think it's somewhere we would stay again, mainly due to the fact the function room was only a stones throw from our bedroom which led to a couple of sleepless nights (though we were pre-warned of this via the website).


But for looks alone WIV scored high with original features intact (fireplaces, beams, sash windows) and a colour palette straight out of a Farrow and Ball catalogue. The layout was characteristic of a country cottage - accessing certain rooms meant going upstairs then back down via different steps - creating a secret passage feel.


Furniture was a mix of old and new - the bar area (including the beer garden) was a mismatch of leather wing chairs, couches and stools, while the rooms included low leather bound beds and disco ball style lighting.


The food was also amazing...on our first night we ate in the bar and had breakfast in the restaurant every morning (unfortunately we missed out on the BBQ menu which came out on Saturday):

Monday, 30 May 2011

Oh Laduree

My first taste of Laduree macaroons. In fact, these are my first taste ever of a macaroon - starting with the best! Orange blossom (left) and salted caramel (right).

Tuesday, 10 May 2011

Food Envy

After a week of buying only the bare essentials and using up everything from our fridge and freezer (one meal was naan bread pizza!) after tonight's feast of soup (made with a frozen carton of soup, fresh tomato sauce, cherry toms, broccoli and a carrot) and warm bread, I will officially be out of food I can make a meal with and the cycle of overstocking the freezer will be begin again.

In the mean time, I'm getting some serious food envy from these images found via:
Homemade tortillas, salsa and melted cheese

Lasagne Soup

 BBQ Chicken Kebabs

 Pepperoni Pizza Puffs

Parmesan Chicken Wraps

Friday, 29 April 2011

McQueen For The (future) Queen

While I wasn't overly excited about today's Royal nuptials (I was working but did manage to catch the 'I Do's') I was hoping for McQueen for the wedding dress. Sarah Burton did not disappoint with a gown featuring a strapless, Victorian style corset, narrowed at the waist and padded at the hips - a signature of the late Alexander McQueen's designs - underneath a high-necked, sculpted bodice in hand-made lace with long, medieval-style sleeves and train on the pleated ivory and white satin skirt.

_________________________________________________________
Very reminiscent of the wedding dress of Grace Kelly but still with a modern feel that was altogether appropriate for a Royal wedding.
_________________________________________________________
The 'halo' tiara is Cartier, borrowed from the Queen who received it as an 18th birthday gift from the Queen Mother who originally received it from King George VI in 1936.
_________________________________________________________
And the cake!

It took cake maker Fiona Cairns and her team 5 WEEKS to complete the traditional fruit cake. Architectural features of Buckingham Palace's Picture Gallery where echoed in the design - roses, acorns, ivy leaves, apple blossom and bridal rose - as well as for their symbolism (including marriage, strength, endurance and innocence) with 900 sugar paste flowers adorning the eight tiers. Seventeen different blooms and foliage have also been used for their symbolism. The four flowers of the home nations - English rose, Scottish thistle, Welsh daffodil and Irish shamrock - also featured on the penultimate tier.
_________________________________________________________
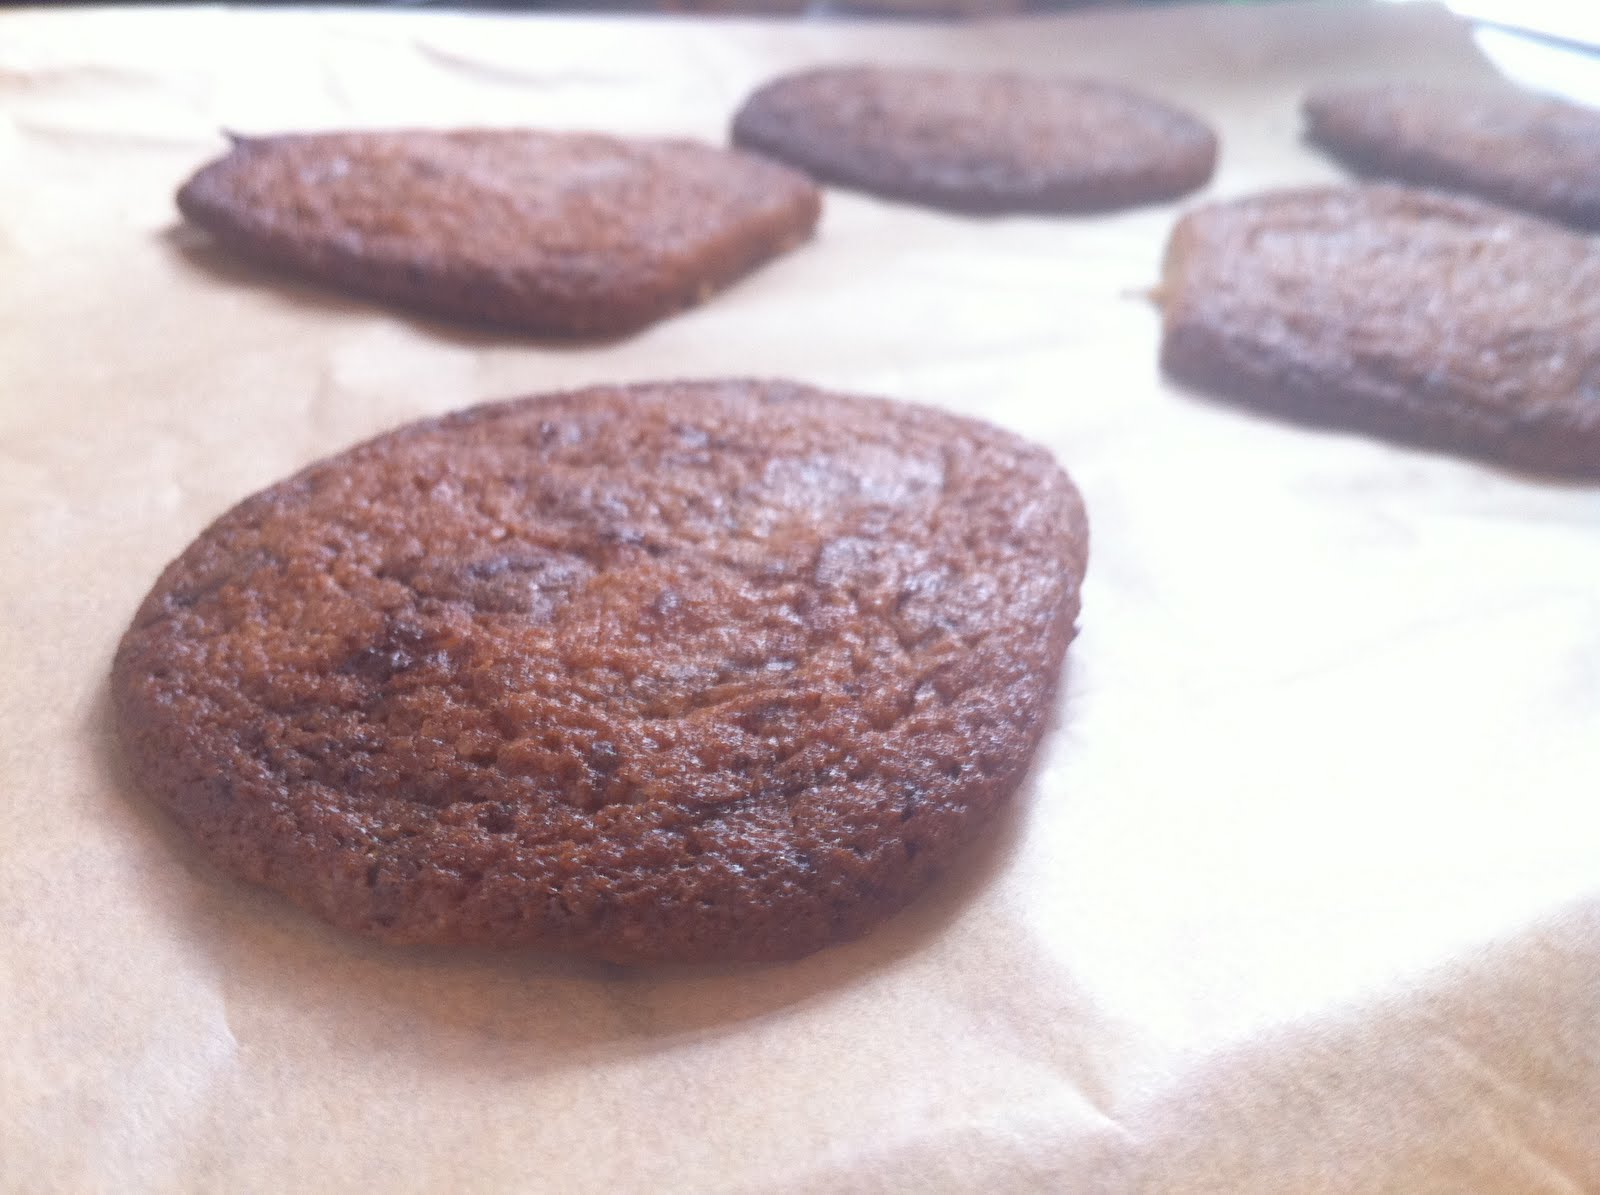
Prince William also requested a special treat from his childhood - a chocolate biscuit cake - which was prepared by McVities from a Royal Family recipe.

Still got Royal Wedding fever? Here's the recipe for the no-bake chocolate biscuit cake from 'Eating Royally'  by Darren McGrady:

Serves 8

1/2 teaspoon soft butter
8 ounces McVities rich tea biscuits
4 ounces soft butter
1/2 cup sugar
4 ounces dark chocolate
1 egg, beaten
8 ounces dark chocolate for icing
1 ounce white chocolate for decoration

1. Line the base of a spring form pan with silicone paper, and butter the sides. Break the biscuits into almond-sized pieces and set aside.

2. Cream the sugar and butter in a bowl. Melt 4 ounces dark chocolate and mix with butter, add the beaten egg and mix well. Add biscuits and coat well.

3. Pour into the pan, making sure the bottom is well covered as this will be the top of the cake when it is un-moulded. Let set in a fridge for three hours. Let partially warm outside of the fridge while 8 ounces dark chocolate and white chocolate are melted. Flip cake and drizzle chocolate on top.

Thursday, 24 March 2011

A Place For Everything And Everything In Its Place

A little bit of interiors geekery - inspirational place settings that make me want to have a dinner party so I can dress my own antique hunk of wood table.

Erin Fetherston's table as seen on MTV's 'House of Style' - the sequin rabbit is a 
hat from Fetherston's Fall '09 catwalk show

Candy bracelets used as napkin rings and giant lollipop favours at a wedding 
at The Tally Ho Inn, Aswarby

From Sweetpea Vintage Company who rent out vintage china and place settings - a mix 
and match selection of rose print tea cups, clear and green glass and linen napkins

Children's tea party with tiny vintage cups and saucers and scattered bite-size 
cupcakes (see more pictures here at The Sweetest Occasion)

Brass wolf charms and string used to tie hessian napkins used at Thanksgiving 

Friday, 18 March 2011

Pounds For Pound Cake - Cakes For Japan

The delicious Miss Cakehead, self proclaimed Vice President Cakehead and the brains behind The Evil Cake Shop the first adults only baked goods venue, has put her creative mind (she's also a blogger and online PR) to good use this week by spearheading the Cakes For Japan event held today at Maiden in Shoreditch.


The premise of the event was for both professional and amateur cake makers, cookie bakers and all round purveyors of sweet toothed fodder to come together to sell their wares and raise money for the disaster relief effort in Japan.

(Painted Cherry Blossom Cookies from Nevie Pie)


And with a whopping 30,000 calories worth of cake sold, raising £2000 in just 3 hours, it's set a high standard for other folk - who are being encouraged by Miss Cakehead to host their own event - especially since Shoreditch's CFJ was planned to run for 8 hours before supplies ran dry at 2pm!

(Awe Inspiring 'Sushi' Cake Pops from TTA favourite Molly Bakes)

While the East Londoner's all worked to a brief of 'Sushi Inspired' edibles, you can still host your own pop-up cake shop to raise money for Red Cross even if you're not a cake culinaire - just get together some like minded people and find yourself a venue (even if you're selling straight out of your front room) and it won't matter if you're making red velvet cupcakes or rice crispy buns because you're raising money for such an amazing cause.

(Green Tea Cupcakes from Leshie Loves Cake)

You can also find Cakes For Japan pop-up bake sales coming soon in Edinburgh, Leeds, Manchester and even Munich. A selection of cakes will also be selling again at Maiden tommorow (Saturday 19th) on a much smaller scale.

(Edible Kokeshi Dolls by Guerilla Cake Art)

But if you can't get to one of those then click the below image to give a donation, however big or small, to Red Cross for their Japan Tsunami Appeal.